As a first attempt with the cyanotype process, I am trying to make tiny cyanotype prints from 35mm and medum format negatives. For this experiment, I have got some ready made cyanotype sensitizer and a lot of good advises from Vladimir Longauer.
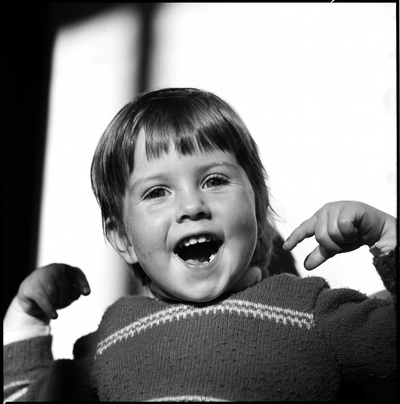
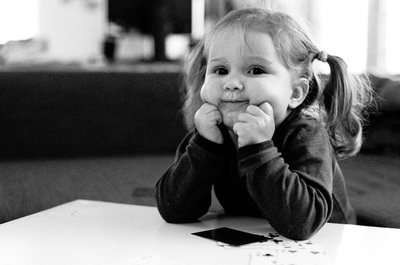
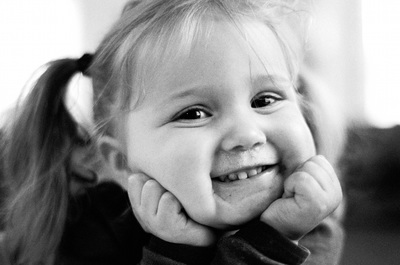
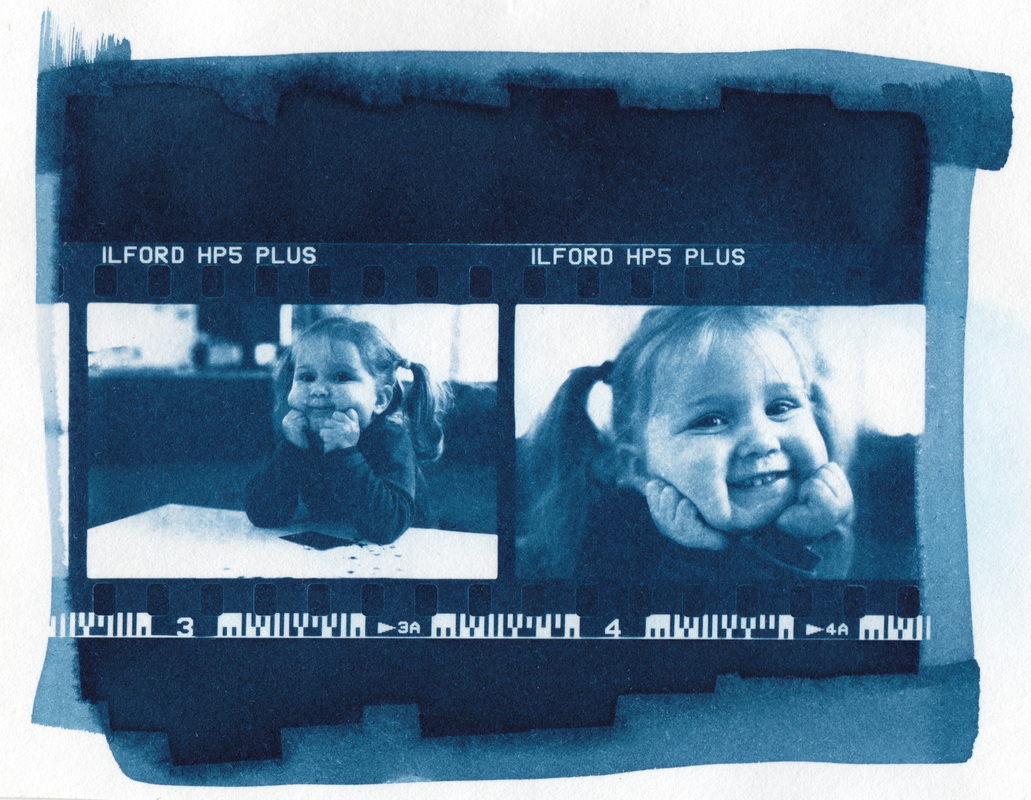
Bellow are the images I have used for this experiment. The first one is a 30 years old 6x6 negative (ILFORD FP4) which I selected because it has a lot of contrast, the background is solid white and it is very sharp. The second and third images are two consecutive images on a 35mm roll shot last week. The film is ILFORD HP5+ pushed to 1600 ISO which also makes it quite contrasty.
Bellow are the images I have used for this experiment. The first one is a 30 years old 6x6 negative (ILFORD FP4) which I selected because it has a lot of contrast, the background is solid white and it is very sharp. The second and third images are two consecutive images on a 35mm roll shot last week. The film is ILFORD HP5+ pushed to 1600 ISO which also makes it quite contrasty.
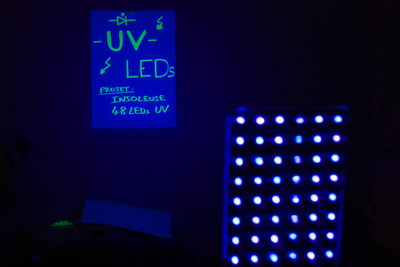
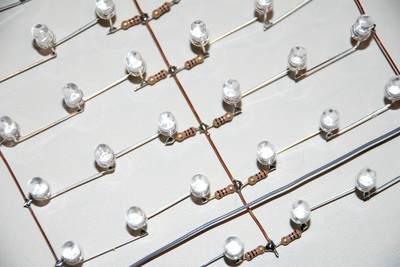
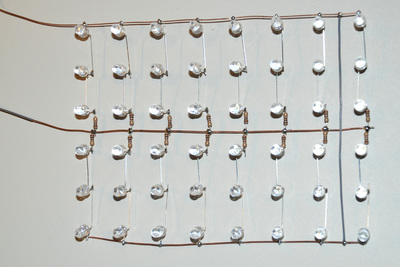
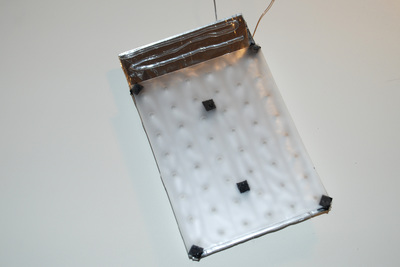
The benefit of the cyanotype process is that it is quite simple and it does not require a lot of chemicals and equipment. The 20mL cyanotype sensitizer solution I got should be enough for 10 A4 prints, that is more than enough for this experiment. Cyanotype is sensible to UV light so the other essential of course a UV light source. The "easiest" is to use the sun but here in Norway, it is not really reliable. For this experiment I am using an array of 48 UV LED lights which I built back in 2008 for etching electronic circuit boards. I do not know the exact type of LED I used back then but it worked for making circuit boards. The exposure wad about 3 times longer than when using the UV tube light box I built earlier but the point was the the LED setup was much much smaller. Here are a few pictures of the LED array which dates back to when I built it.
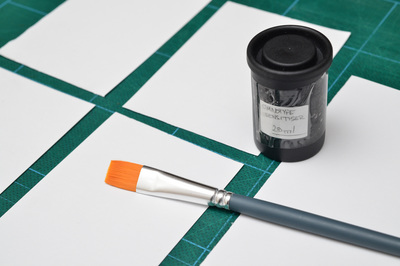
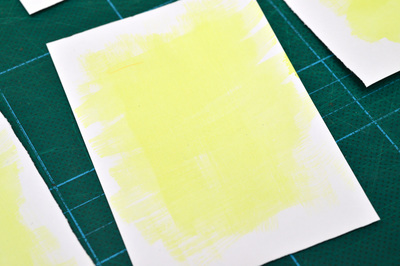
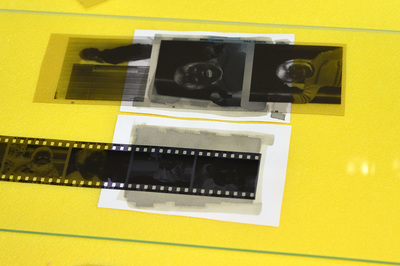
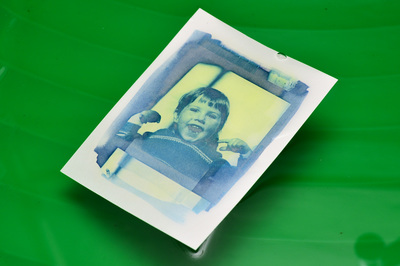
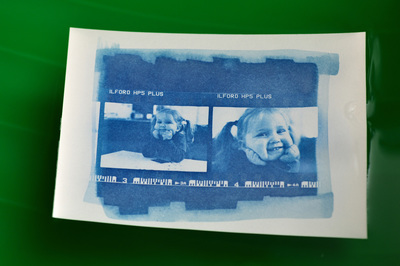
Bellow are some pictures of the process. The first step is to coat the paper with the chemical. For the first attempts, I did it in the dark and my coat was too thin and rather uneven (second picture). It worked good enough to do some exposure tests but the results were not very good. For the second attempt and to start working with the negative, I used a bit more solution and made sure the center part of the paper was evenly coated (I did not take picture). After coating I let the paper dry completely. To expose, I just put the negative on to of the coated paper (emulsion down) and put a glass plate on top in order to press the negative. Using the LED array the exposure time for the prints bellow was around 30 minutes. That a bit longer than what I hoped for. After exposure, the image is visible on the paper but it is not very clear and it is a mix of blues and yellow. The next step is to wash the print in water to develop and fix it. All the leftover chemicals are washed out and the blue image appears. The last step is to dry the paper.
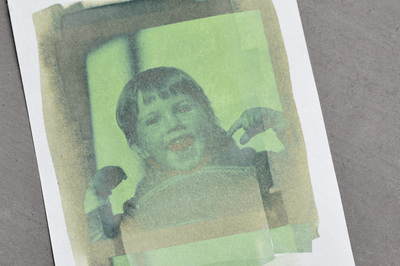
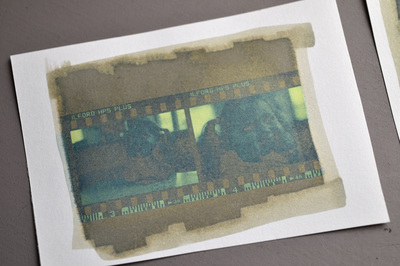
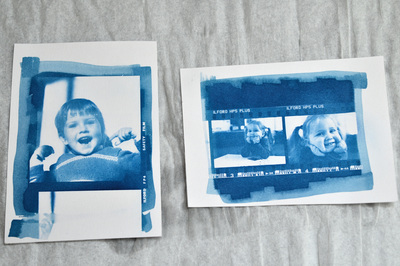
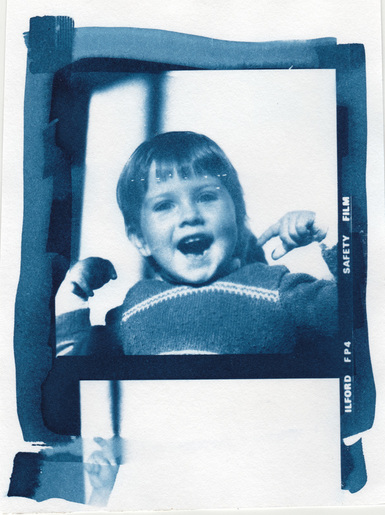
And here are the result scanned using a flatbed scanner:
I am quite pleased with the quality, details and tones of the prints for such a quick and dirty experiment. Now I need to larger negatives to print, probably a better UV light too :-)
