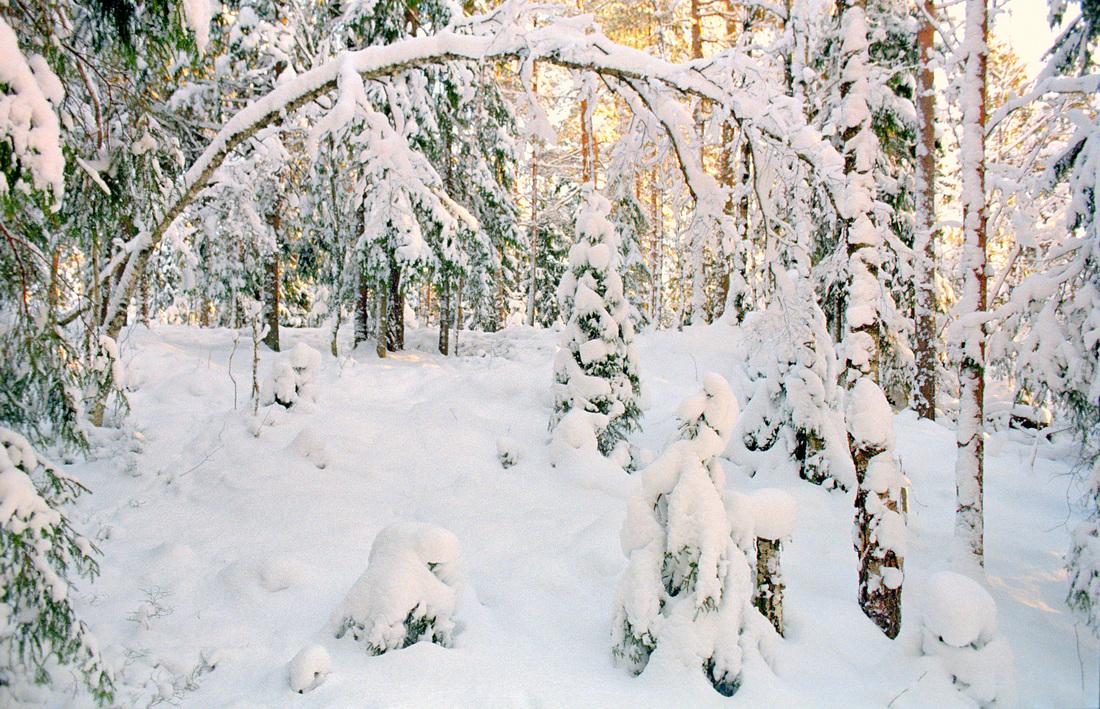
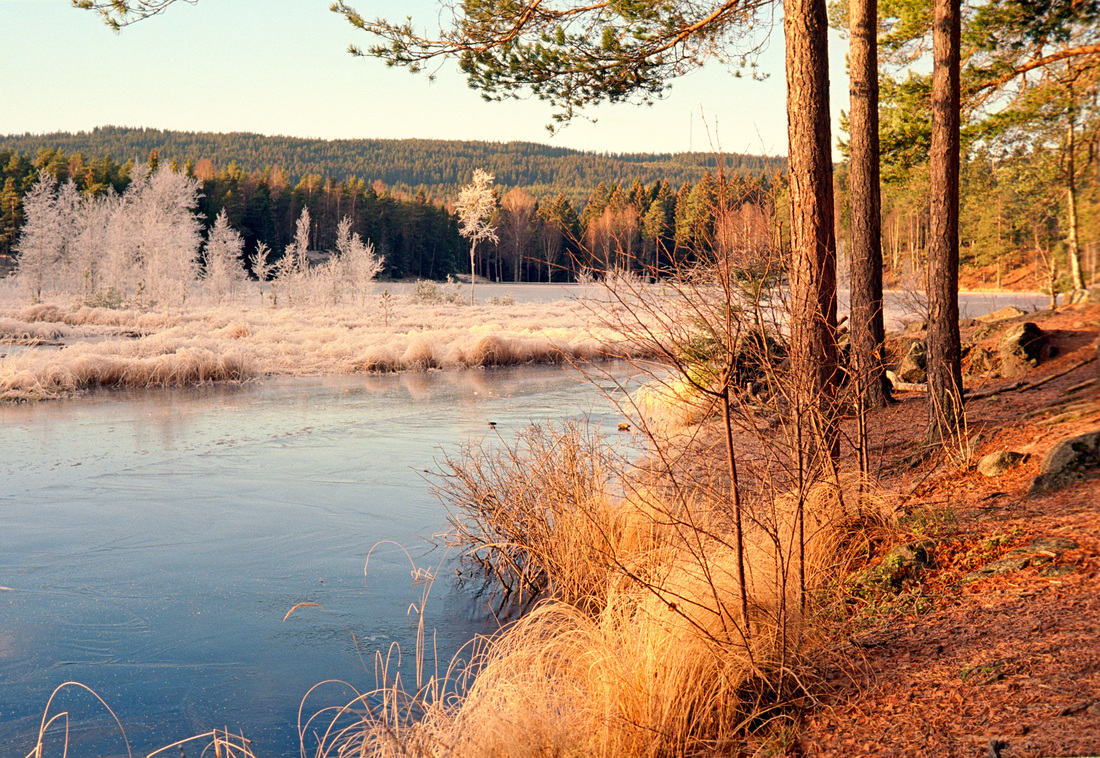
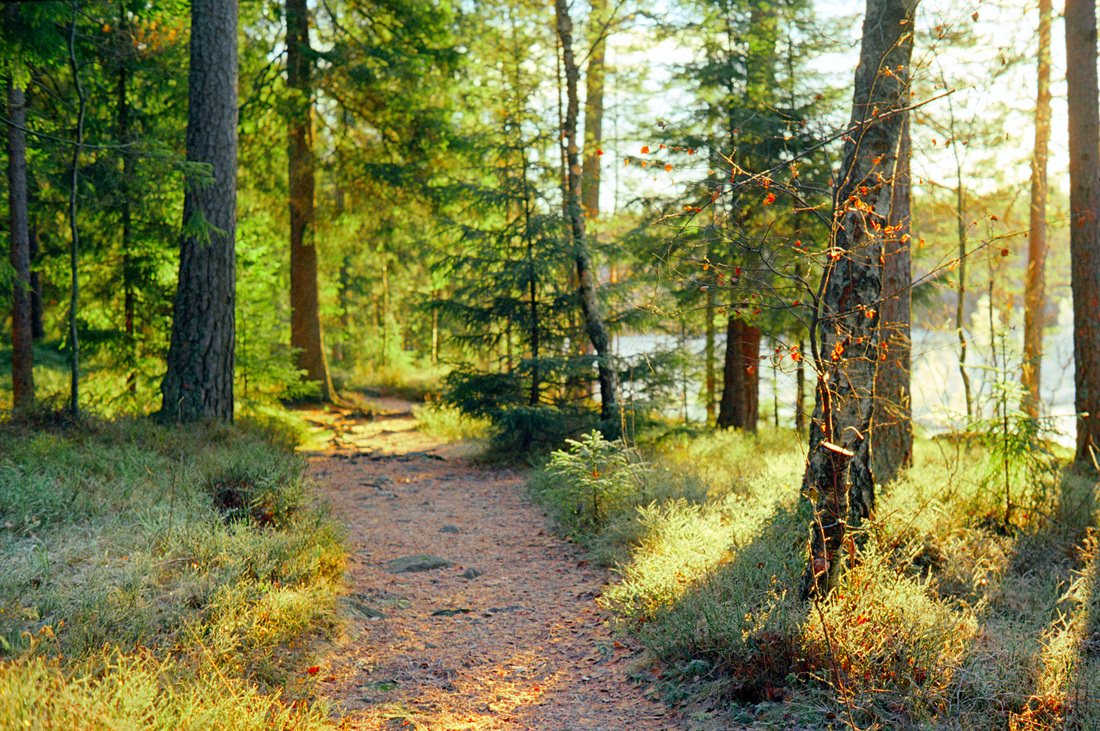
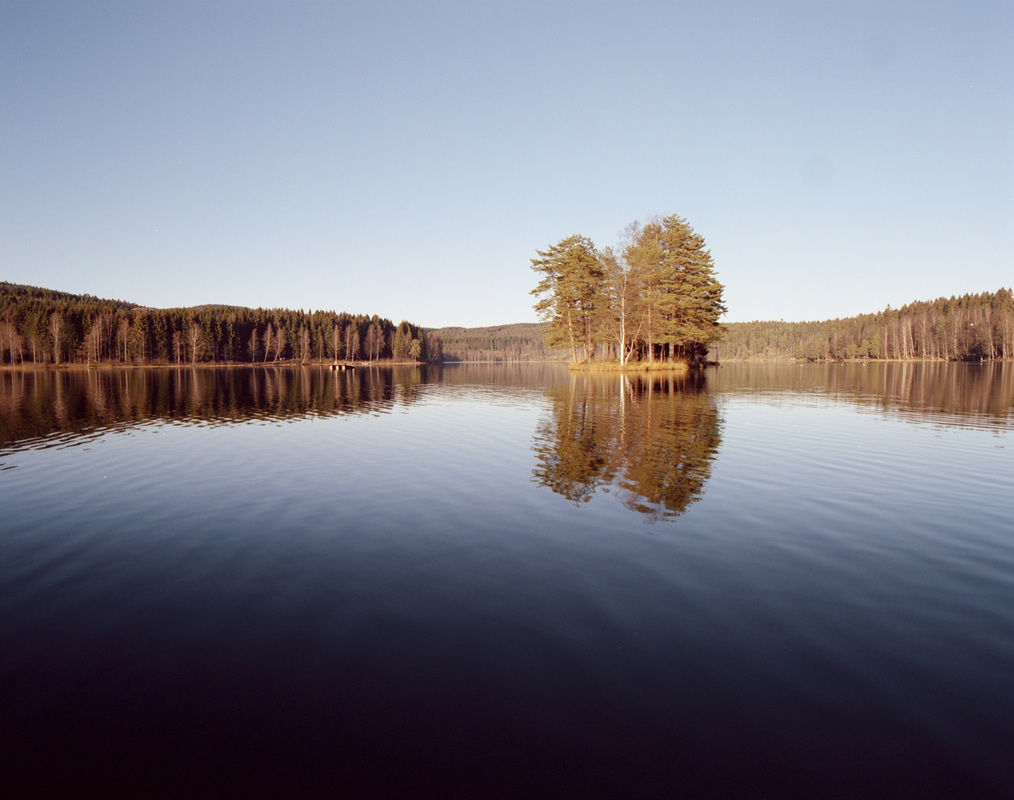
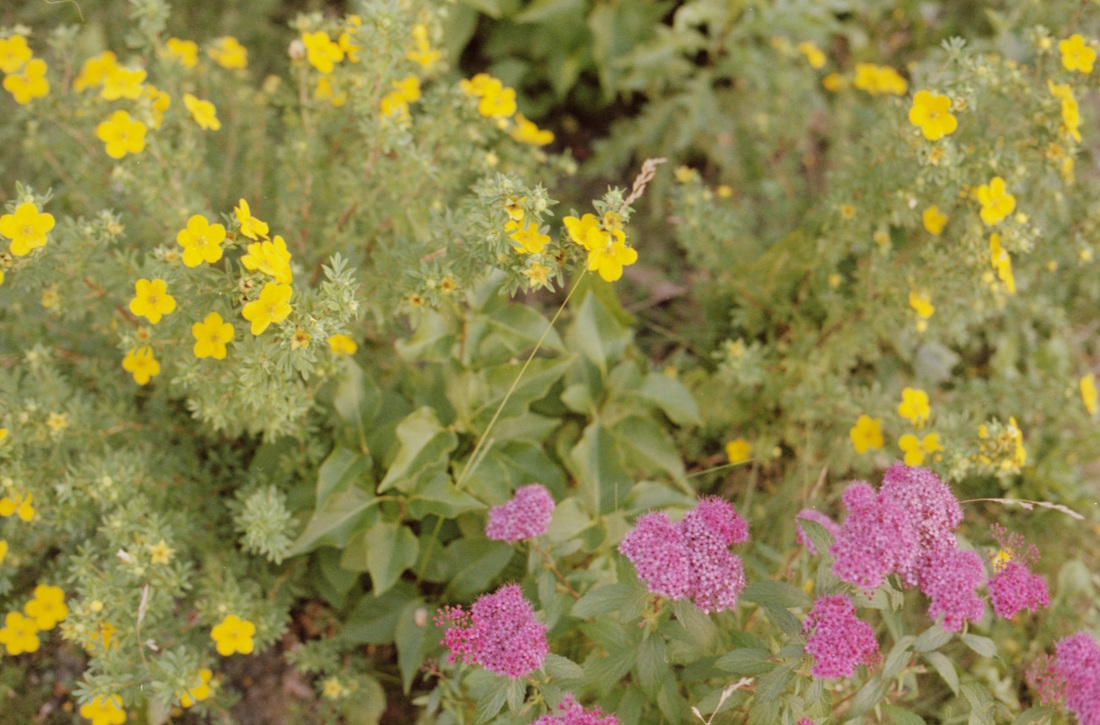
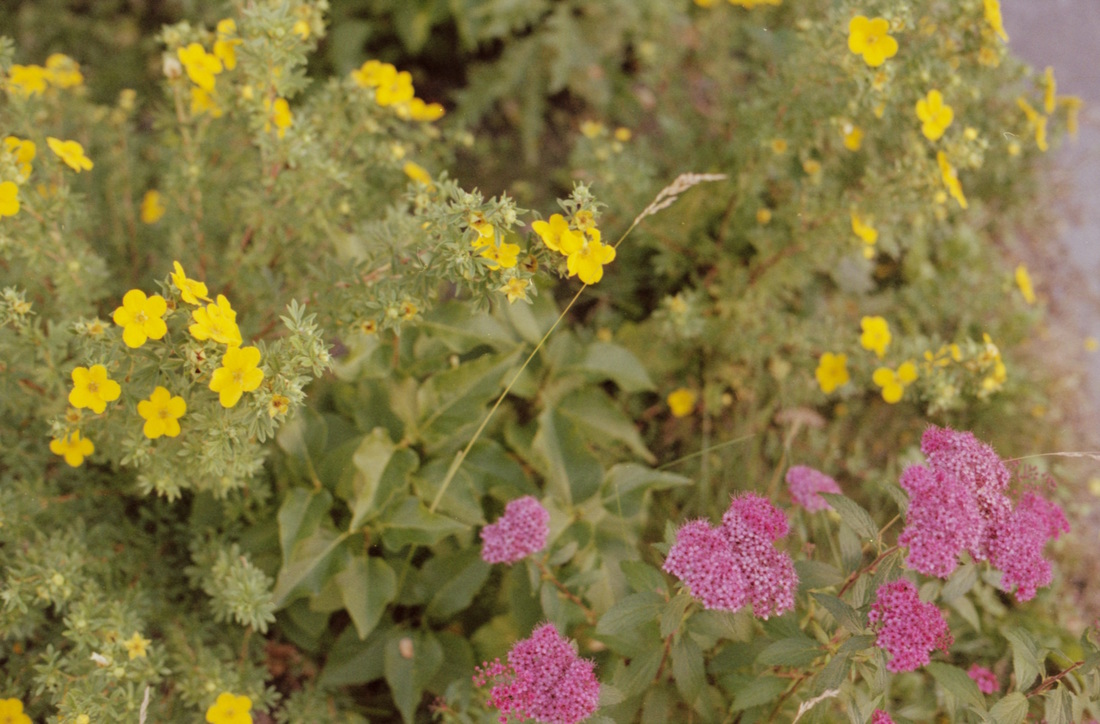
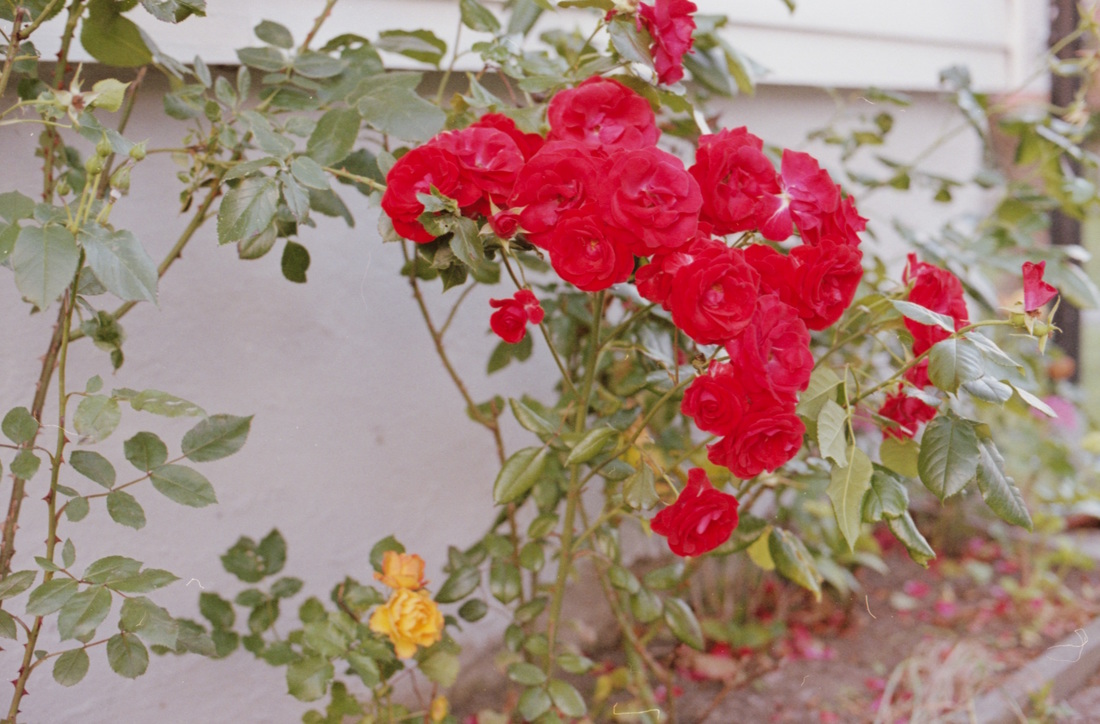
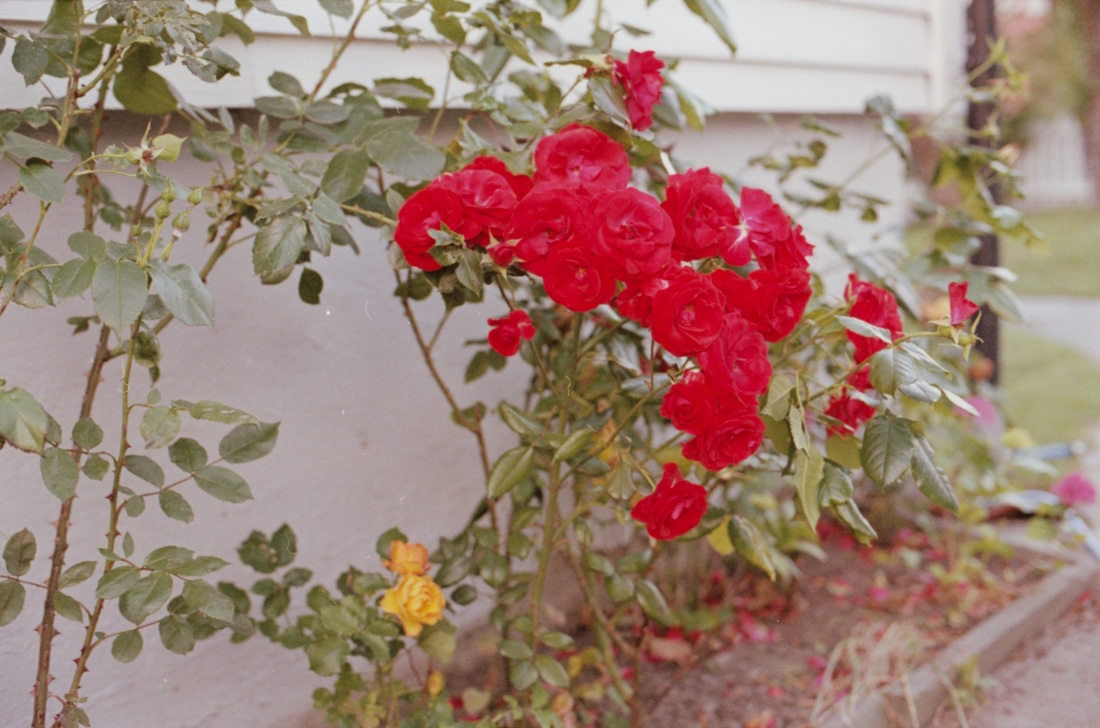
| A few examples of C-41 processed images | When I started shooting film again, I was mainly intending to do black and white because I knew I would be able to do all the processing and printing myself. However, it turns out that processing color negative film is quite easy as well. Printing is probably more tricky (and I do not have the equipment for it) but since I am scanning the film it is not an issue. Unlike for black and white film, there are not so many options for processing C-41 film and all film types are actually processed in a standard way (same chemicals, same times, same temperature, etc). That makes processing color film quite a bit simpler than black and white! In this post, I'll try to go through the process I use to develop C-41 and summarize the experiments I have made in order to get to that process. Context: (i) I am not processing high volumes (maybe one roll per week on average), (ii) I want to process the film as quickly as possible after shooting (I do not want to wait having 15 exposed rolls to develop them), (iii) I do not want to compromise image quality and (iv) I want to keep the cost of processing as low as possible (of course!). |


When researching how to develop C-41, as always, there are a lot of contradictory advises and opinions regarding what temperature to use, what agitation, how long chemicals can be kept, whether or not doing a pre-wash or a final rinse, etc. For some aspects there is clear right and wrong, for some it depends on the context and for others it probably does not matter so much. This page summarize the process I use and try to explain and motivate why I am doing it this way. It is certainty not the only way to do it but I hope to converge to what is best suite for my particular context. I hope someone else finds this useful.
(My) C-41 Development Process
| I am using Tetenal Colortec kits for C-41 development kit for color negative film. I have been using a couple of 1L versions of the kit but I am now using a 5L kit and mixing 1L at the time. The kit contains 3 chemicals in liquid concentrate form (Developer, Blix and a Stabilizer) and a set of instructions for mixing the chemicals and processing film. All my developing has been done with these chemicals but this is just because that is the one I could get my hands on. I have no idea how it compares with other kits but I expect that most of the points I am discussing here would apply more or less the same with other chemicals. In addition to the supplied chemicals, I use a stop bath made of 2% acetic acid (diluted white vinegar). I re-use the same stop bath several times but change it when it starts to get yellowish/brownish because of being contaminated with developer. | 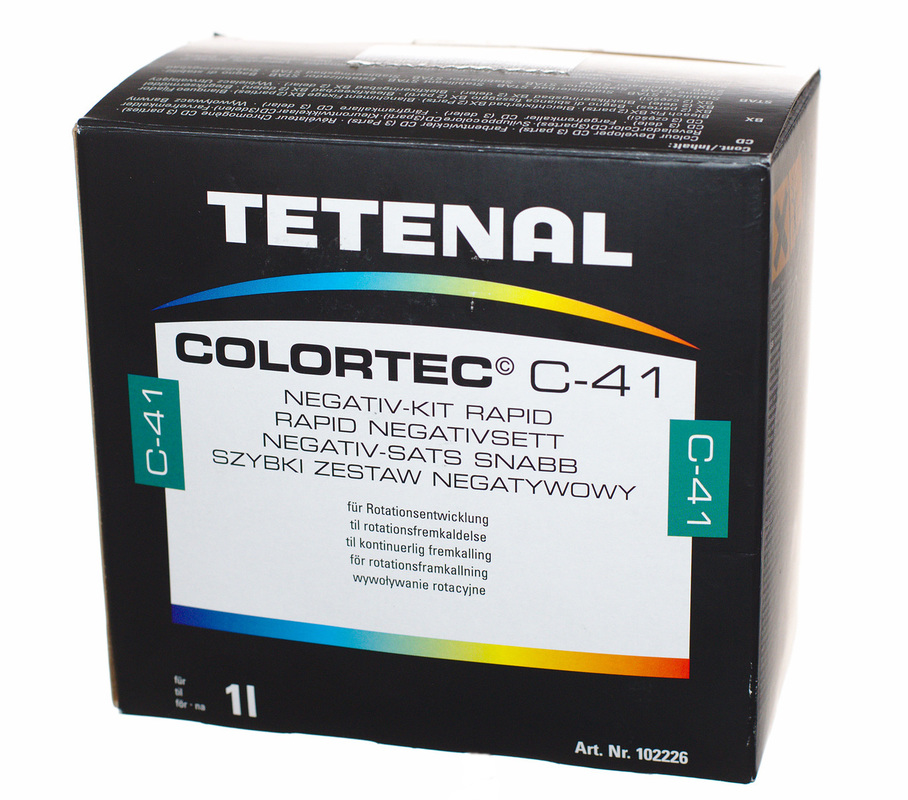 |
Here is the development process I currently use:
- Prepare a water bath at 30°C to bring all chemicals to temperature (Developer, Stop, Blix and Stabilizer).
- Load the film in the developing tank and put the tank in the 30°C bath as well for about 5 minutes.
- C-41 Developer at 30°C for 8'00" with agitation the first 15s (with twisting the stick) and 10s (3 inversions) every minute. Tap the tank and put it back in the 30°C water bath after every agitation. To account for the Developer being re-used and slightly diluted, after the 5th batch developed with the same 1L of developer, I increase the time to 9'00" instead of 8'00". I dispose of the chemistry after the 10th batch.
- Stop bath at 30°C for 0'30" with continuous agitation (with twisting the stick).
- Blix at 30°C for 6'00" with agitation the first 15s (with twisting the stick) and 10s (3 inversions) every minute. Tap the tank and put it back in the 30°C water bath after every agitation.
- "Ilford" wash with tap water at 30°C. 1 inversion + dump. 5 inversions + dump. 10 inversions + dump. 20 inversions + dump. 20 inversions, let it sit one minute + dump. Repeat the last if the wash water is not clear (with some film it is necessary).
- Stabilizer at 30°C for 1'00" with slow continuous agitation (with twisting the stick).
- Hang the film to dry. I do not use and squeegee but sometimes remove some of the liquid from the film by squeezing it between two fingers. I have not decided what the best strategy is as far as some possible drying marks vs some possible scratches but that is not specific to color negative film :-)
Temperature: why use 30°C instead of 38°C ?
| The recommendation from the instructions are to use a temperature of 38°C in a rotary processor. The times for processing are short which allow processing film quickly. However, in case of uneven development the instructions recommended to use lower temperature (30°C) and longer times. As far as I can tell, the only "disadvantage" of the lower temperature option is the longer time it takes to process film. The big advantages however are (i) not risk of uneven development even with manual agitation (ii) much easier to get accurate timings because of the longer times and (iii) easier to get a consistent 30°C temperature compare to 38°C (because it is closer to room temperature and cools off much slower). From this, unless developing with a rotary processor and in a big hurry (really ???) I would always choose the 30°C option and recommend using 30°C for developing C-41 "manually" | 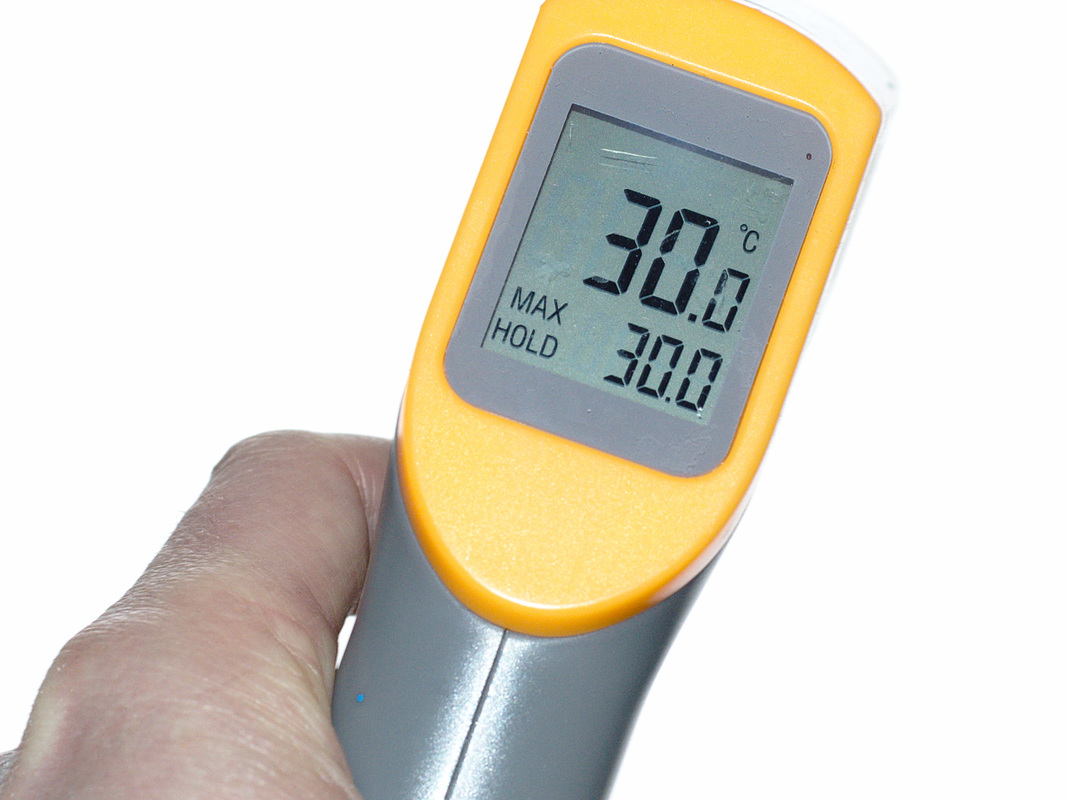 |
To bring the chemicals to temperature and keep the temperature correct, I use a large 10L water bath at 30°C and put all the chemicals and the developing tank in it at all times during the process. When using a Jobo processor, the automatic temperature control is very convenient and very precise but I do not have one at home and found that it is reasonably easy to keep within 1°C of the target temperature by using a thermometer and adding a bit of hot water once in a while. Technically, it is important to be very consistent and precise during the developer step but for the rest a couple of degrees up or down are not a problem at all (the instructions for the kit give some wide ranges of acceptable temperatures for the Blix and Stabilizer).
Note: I also have the intuition that an added benefit of using a lower temperature is that the chemicals do not react as much with the oxygen in the air when being used and may be reusable more times before going bad. However, I have no evidence of this. One clue is that the instructions give an option to develop at 45°C instead of 38°C but only if doing one-shot development (no reuse of the chemicals at all).
UPDATE: Following the discussion on APUG, it seems that developing at 30°C has more impact on the development than just making the development time longer. It could result in negatives that are inferior in quality and harder to print / scan. See my next post here about an initial experiment at 38°C. I will develop at 38°C for a while and update this post as I go.
Agitation: Manual vs. Rotary Processor?
| The instructions are written mainly for using a rotary processor so it is easy to jump to the conclusion that you need a processor for C-41, however, this is not the case at all. The thing is that when using 38°C the development is so quick that agitation needs to be perfect in order to get even negatives. This is not so much of a problem when using lower temperatures and longer times. To check this, I made my own experiment and developed two pieces of the same film at the same time, using the same chemical and same 30°C temperature but one in the Jobo processor and the other one manually agitated with my usual agitation scheme of 15 sec twisting and 3 inversions every minutes. The picture on the right shows the result. The top 2 strips were developed with the Jobo processor (continuous agitation) and the two strips on the bottom were developed with manual agitation (15 second of twisting and then 3 inversions every minutes). The pictures on this test roll are not exactly the same so it is hard to compare very small variations. Overall the density of the negative are really really close. | 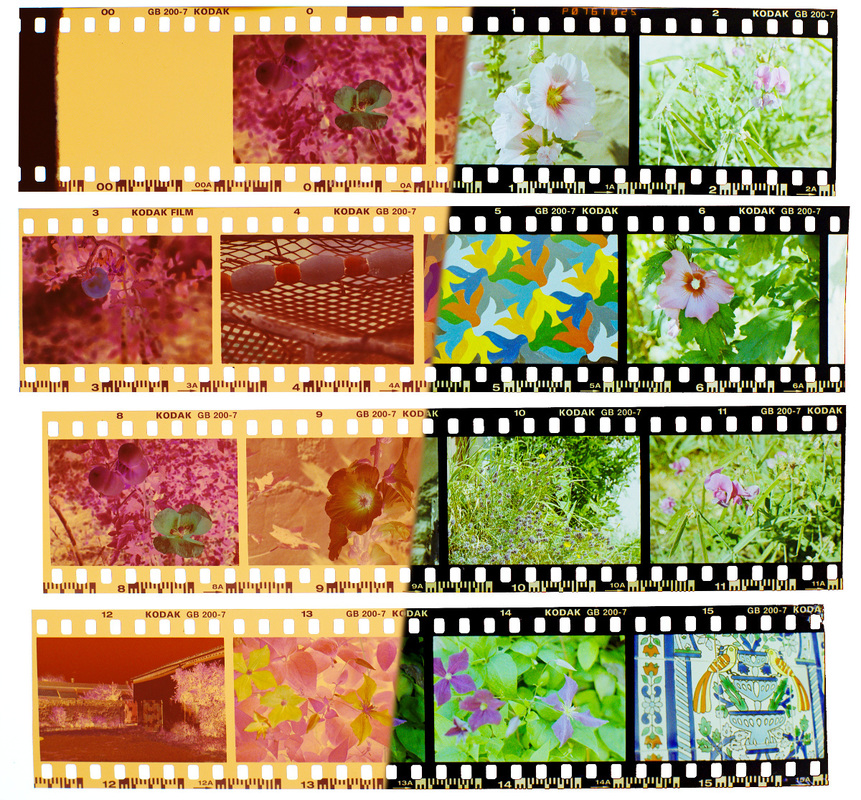 Jobo Processor (top 2) vs. Manual Agitation (bottom 2) |
Maybe the top 2 strips are ever so slightly darker (for example when comparing the marking along the edge of the film) but there is not big difference. I was initially wondering if I should increase a bit the time when developing with manual agitation but given this result I decided not to and stick with the recommended times (i.e. 8 minutes of development at 30°C). In the end I now always manually agitate the film. When I have the Jobo, I use it for the temperature controlled water bath but I use my Patterson tanks and agitate manually. After all, it is part of the enjoyment of shooting film :-)
With or Without pre-wash / pre-soak?
The benefits of a pre-wash are (i) to get the tank and film at the right temperature before adding the developer and (ii) wash the anti-halation layer of the film (or any other coating) if the film has one. When developing black and white with one-shot developer I typically do a pre-wash for 120 film which has an anti-halation layer. For C-41 I am not sure which films have anti-halation layers. The disadvantages with doing a pre-wash are (i) it is an extra step and (ii) the small amount of water left on the film and in the tank when pouring the developers slightly dilutes the developer. I would not mind the extra step but the dilution can really become an issue when reusing the developer over and over again.
I was a bit skeptic about the dilution issue at first but with a little experiment and calculation, I am now convinced and that is the reason why I do not pre-wash when developing C-41 film. To know how much the developer is potentially diluted a simple experiment of measuring how much of the pre-wash water actually comes out allows to estimate what is left on the film and in the tank. For 500mL of water poured in my tank containing either 1 roll of 120 or two rolls of 35mm, only between 475mL and 490mL come out of the tank. That means that between 10mL and 25mL are left on the film. When adding the developer, this small amount of water gets mixed with it. If using a one shot developer or using you 1L in 2 or 3 development batches, the effect of this dilution is quite negligible but I intend to reuse my 1L of developer for 10 batches or mores! that means that in the end a total of between 100mL and 250mL (!!!) of water ends-up being added to the developer. That is really significant and would for sure lower the developer concentration enough to affect the results.
Remark: Some recommend the pre-soak to make sure that the developer spreads more evenly and avoids bubbling on the film. While this may have been true at some point in history and with some specific films, I really haven't seen anyone reporting issues with bubbles or uneven development when doing a normal initial agitation and taping the tank to dislodge bubbles directly with the developer so I am not including it as a benefit here.
Why use a Stop bath?
The reason for using a stop bath is to avoid contaminating the Blix with too much developer. As explained in the previous paragraph, there is always some amount of liquid left in the tank when emptying it from the previous chemical. My estimation for a 600mL tank is that between 10mL to 25mL is typically left on the film and in the tank. That means that if the Blix is used right after the developer, it is contaminated by 10mL to 25mL of developer for every batch. That may be negligible if you are only reusing it 2 or 3 times but after 10 batches, that is more than 100mL of developer in the Blix and that would certainly create problems.
The stop bath I use is 2% acetic acid (i.e. diluted vinegar) it helps get the developer off the film and greatly dilutes and neutralizes the developer left in the tank. Of course when pouring out the stop bath, 10mL to 25mL remain in the tank and ends-up diluting/contaminating the Blix but the acid of the stop bath is not as bad for the Blix as the alkaline developer would be. Based on this, I believe that it is very important to use a stop bath if you intend to re-use you chemicals for many batches.
I make my Stop bath by diluting white vinegar to 2%. In the shops the typical kitchen white vinegar is 7% or 8% but I also found some around 30%. Typically, I make a new stop bath solution every 4 or 5 batches or whenever it starts to have a brownish tint to it. The reason I use vinegar is just because it is cheap and widely available but any stop bath would do. In terms of preserving the Blix, using plain water as the stop bath would do the job almost as good but at least in theory the acid of the stop bath helps to neutralize the developer.
No wash / rinse after the Stabilizer!
This is one for which there should not be any debate. The point of the Stabilizer is to be used as the final rinse! It contains a wetting agent which avoid drying marks on the film and some chemicals to "stabilize" the film (whatever that means) and prevent any mold or other parasites to develop on the film later. It has to be the last thing on your film before you hang it to dry. You should not wash after the stabilizer.
You may choose to replace the stabilizer by another wetting agent (for example Photo-Flo) but in that case there is no point in using the Stabalizer before since you are just washing it away and with it all its potential benefits. From my understanding in short term you will not see any differences but in the long term (after many years) color negative film is prone to mold growing on/in it and that is what the Stabalizer prevents in addition to being a wetting agent. That is why I use the Stabilizer for C-41 and not Photo-Flo which I use for black and white film.
Remark: In case Stabilizer leaves drying marks on the film, one option seem to be to add some Photo-Flo to it. I have not had any problems with drying marks so I have not tried. I believe that the Stabilizer (at the the one I am using) already contains a wetting agent but I am not 100% sure and maybe in some case it helps to add more.
Example usage log for a Colortec C-41 1L kit
In order to figure out how much I could reuse the chemistry and how long I could keep it, I logged how I used a single 1L kit. Bellow are the dates and film I processed with that kit.
|  Bottom strip is from batch #1. Top strip is from batch #10. No visible difference on the negatives. |
In order to evaluate the quality of the processing, I used one of my test roll of film which contains many times the same sequence of 3 pictures and developed a small strip together with the first batch and with the last batch. To the right are the two strips next to each others on the light table. The top strip was processed with batch #10 while the bottom one was processed with batch #1. By just looking at the negative, there is no way to tell any difference between the two. To investigate a bit further, I scanned the images in RAW and applied exactly the same level adjustments to all of them. Bellow are the 6 images that were scanned. Definitely not pretty pictures but I just wanted to have some colors, shadows and highlights on these test shots in order to see if there would be any obvious differences.


The results show that the pictures from batch #10 are a tiny tiny bit darker than those of batch #1 but nothing that would really be noticeable (and could be due to other things than just the age of the chemistry). I disposed of the chemicals and started with fresh ones of the this batch but I probably could have developed more rolls...
Conclusion: This experiment shows that in this case, I was able to process 14 rolls of film, in 10 batches distributed over 4 month and that there was no measurable difference in processing quality between the first and last roll that was developed. Keep in mind that this is of course just one example.
Conclusion: This experiment shows that in this case, I was able to process 14 rolls of film, in 10 batches distributed over 4 month and that there was no measurable difference in processing quality between the first and last roll that was developed. Keep in mind that this is of course just one example.
How long and how much the chemistry can be reused?
That is the hardest question and the only correct answer is that it depends. According to the instruction of the C-41 kit, the unopened concentrate are good for a couple of years the opened concentrates can be kept for 3 to 6 months and the mixed chemicals for 6 weeks for the developer and 6 month for the blix and Stabilizer. I believe that these are quite conservative numbers but it gives a good indication that the most delicate chemical is the developer. In terms of the number of rolls which can be processed, the instruction recommend 12 to 16 rolls (35mm or 120) depending on film sensitivity (12 for film over ISO400 and 16 for film under ISO400). I typically process a mix of ISO 100 to 400 film so the chemistry should be good for 15 rolls without problems.
In terms of the number of batches, the instructions are not very specific but mention a maximum of 3 batches when processing film over ISO 400. That probably means that 5 or 6 batches can be recommended with film under ISO400. The number of batches is really something I want to be able to stretch because (i) I want to develop film as I shoot it and (ii) my biggest developing tank can only hold 2 rolls of 120 or 3 rolls of 35mm.
In summary, here is what I currently do:
- Change my chemicals after 5 month / 15 rolls / 10 batches whichever comes first.
- Test my chemistry whenever I have doubts or need to develop an "important" roll of film.
How to test if the chemistry?
The only way to make sure the Developer and Blix are still good is to test them. The stop bath is very cheap so I change it whenever it starts to be too tinted. The Stabilizer should be good for a very long time so there is no need to worry about it (unless it can have been contaminated by some other chemicals). There are two ways I use to test the chemicals: and quick and dirty one and a proper one which takes quite some time. The quick and dirty use the film leader and allows making sure that the developer and blix are not completely dead and that some sort of images will be developed. It does not allow to ensure that the chemistry is good enough to get good quality images. The proper one consist of developing a test piece of film and compare the results with a control. It is time consuming but really the only way to be sure that the developer and blix are fully functional.
Quick and Dirty: Dip half the film leader in developer and let the developer sit on the film for 2 or 3 minutes. Rinse with water. Dip the whole film leader in blix and leave it in blix for 1 or 2 minutes. Rinse with water. As a result, the film leader should be clear for the part that has not been in the developer and dark where it has been in developer. If the result is different, for example all clear, all dark or no clear difference between the two parts, it means that you chemistry is completely dead. In case you get the expected pattern, it does not mean that your chemistry is good but at least it is guarantied that you will get some sort of images. I do not think that we can test more than that using the film leader.
Proper Test: This is quite simple but more time consuming. The idea is to develop a piece of film and compare it with a control. The important part to be able to do that is to actually have a piece of film and a control which are comparable, that requires a bit of planning up-front. For that, you have to shoot a test roll of film. What I do is that I shoot a whole roll of film with the same sequence of 3 or 4 pictures. What is important is to make sure that the pictures are about the same across the whole roll and that the same pictures are shot with the same settings. This is to make sure that images are fully comparable. In terms of the pictures themselves, I try to make sure that there is a good selection of different bright colors and both some shadows and highlights. Once you have this test roll, the idea is to develop a small section of it with your first batch, right after mixing you chemistry. This is going to be the control. Later, whenever you are unsure or want to get a good test of your chemistry, you can develop another small section of the test roll and compare it with the control. I would really encourage you to make this test roll and control right away if you are starting, it is a very good tool to have later if you want to make sure you have perfect images quality and not through away perfectly good chemistry. It is not a very expensive investment and can allow you to reuse the chemistry over and over again without taking any risks.
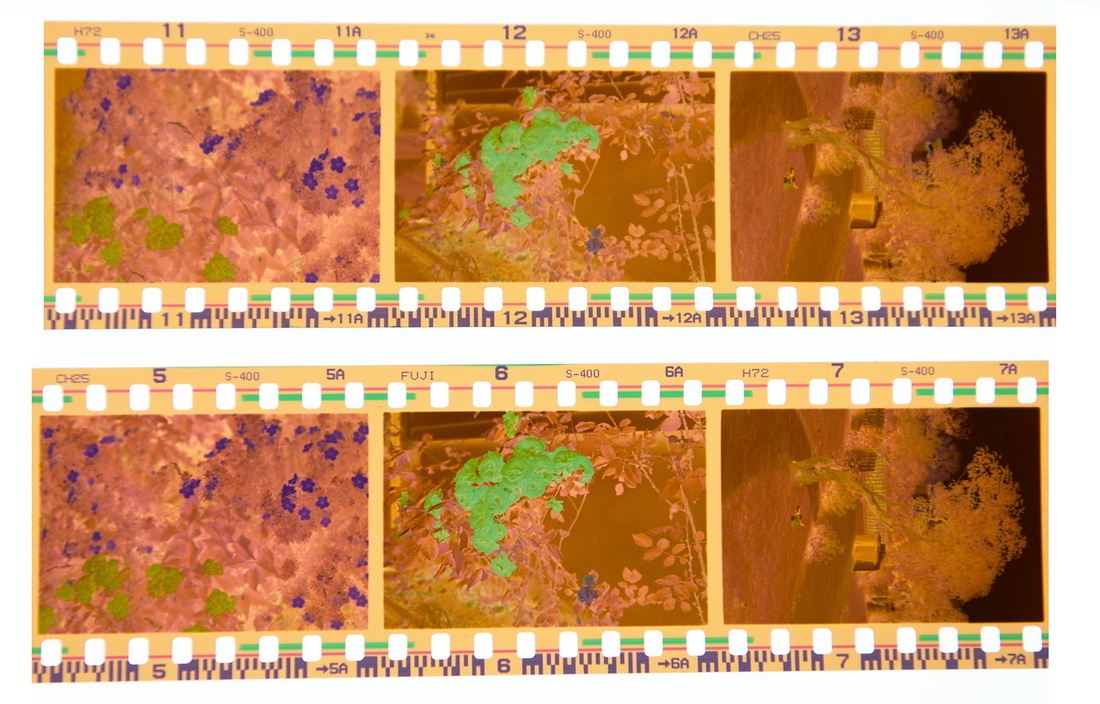
Bellow is an example of what you can get. This test was done on chemistry mixed 7 month before and developing 11 rolls of film. The results shows that the density of the negatives are pretty similar but some defects starts to show. If you look at the colors on the positive image on the right, it seems that the yellows are fading away on the bottom strip compared to the top. On this test roll I was not very consistent in taking exactly the same pictures but a difference is clearly visible between picture #3 on top and picture #1 in the bottom and also picture #4 on tom and picture #3 on the bottom. In that case I was testing an old batch of chemistry to know if it would be good enough to process a 25 year old roll of exposed film which I found in the attic. I was really not sure if there were any pictures at all on that roll and how good they would be. After this test, I decided to go ahead and develop despite the small color shift and I got some pictures of me as a kid :-).
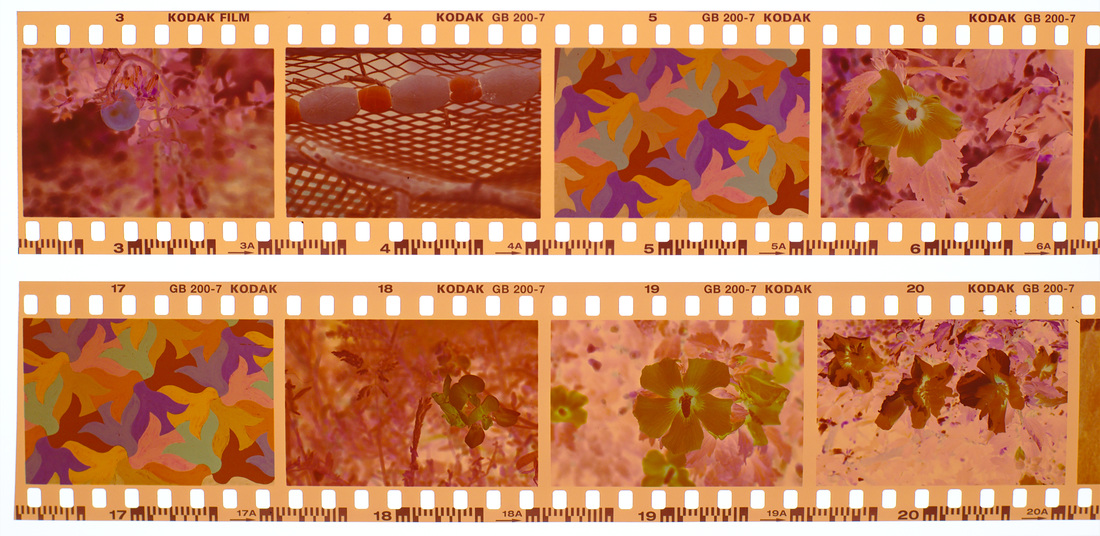 Top strip is the control. Bottom strip developed after having the chemistry mixed for 7 months and developing 11 rolls of film. | 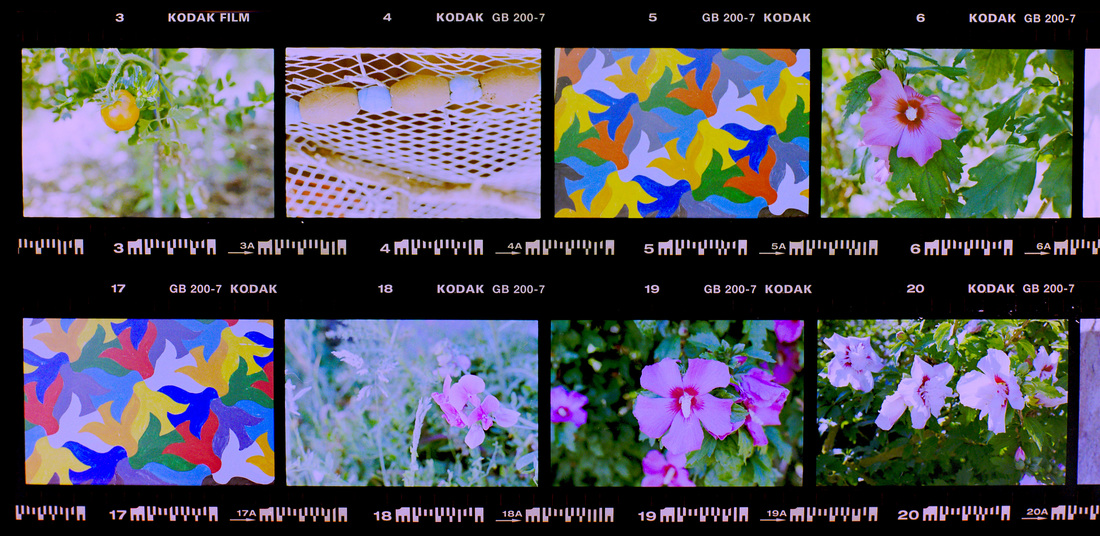 Top strip is the control. Bottom strip developed after having the chemistry mixed for 7 months and developing 11 rolls of film. |
Another example of a test don with another test roll and for another batch of chemistry can be seen in the section "Example usage log for a Colortec C-41 1L kit" above.
Conclusion
Processing C-41 is easy and reasonably cheap. The process described here typically allows me to process an average 12 rolls per liter of of chemistry. The last I bought is a 5L kit. I hope that the concentrate will keep long enough and not go bad before I can use it. time will tell! I hope you have found some useful information on this page and do no hesitate to leave me comments questions or suggestions!
Links
When googling for self developing C-41 many many forum posts, tutorials and review come up. Many of them just basically repeat the instruction manual of a specific kit or contain one process without much explanations. Bellow are a few links to the ones which I have found the most useful when getting started and elaborating my own process.
To get a better feeling of the process, there are also quite a few videos on Youtube from start to finish. Here are a couple which I have watched before getting started
- TETENAL C-41 Rapid Negative Kit Review: Experiments showing the differences in the results obtained when developing with manual agitation at 38°C and 30°C. This review is the reason I went for 30°C right away.
- Home Processing of C-41 Color Negative Film: Some good description of the development process step by step. And a discussion on adding FotoFlo directly in the Stabilizer if you experience drying mark. The article claims that the Stabilizer does not contains a wetting agent. My impression is that the one I am using contains one and I have not experiences any troubles with drying marks but that may be something to keep in mind.
To get a better feeling of the process, there are also quite a few videos on Youtube from start to finish. Here are a couple which I have watched before getting started
- Developing Color Film (C41) by The Art of Photography: Shows the process of developing with manual agitation and a simple water bath to keep temperatures.
- How To: Develop Color Print Film (C-41 Process) by ForesthillFilmLab: Processing C-41 with a Jobo processor.
- Color Film Processing by The Rescued Film Project: Processing hundreds of rolls manually !!!