| In my first experiments with cyanotype print I used 35mm and medium format negatives and contact printed them. That is all and good but the size of the print is tiny. I do not have any larger negatives so the way to get larger prints is to use "digital negatives": the image is edited digitally and a full size negative is printed on an inkjet transparent film. The benefit is that any digital file can be used as the source, it does not matter if it was shot on film or digitally. The drawback is that it is not a fully analog process and a "good" printer and some experimentation is needed to get good quality digital negatives. My printer is a Canon MG6350, I have no idea how good it is in terms of printing transparent and if the Cannon inks are any good to get good contrast with UV light but lets give it a try. |
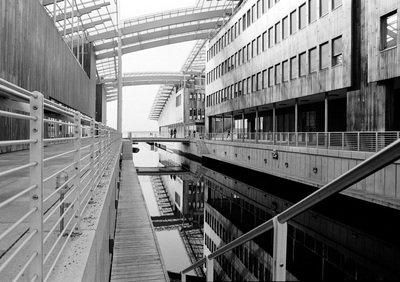
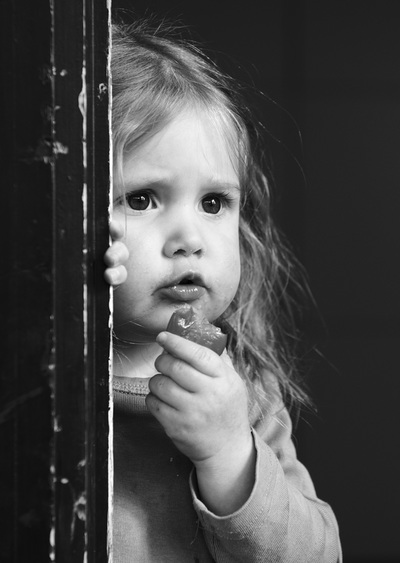
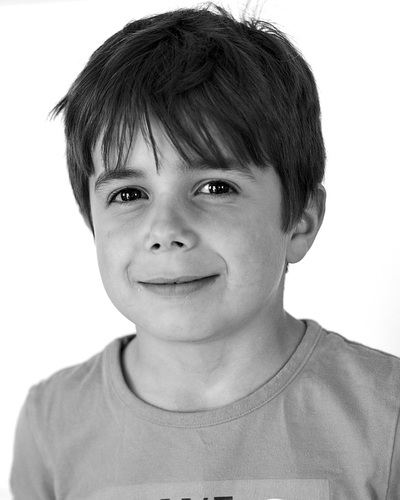
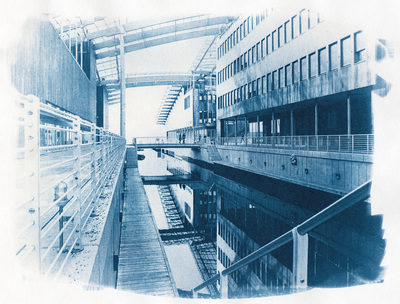
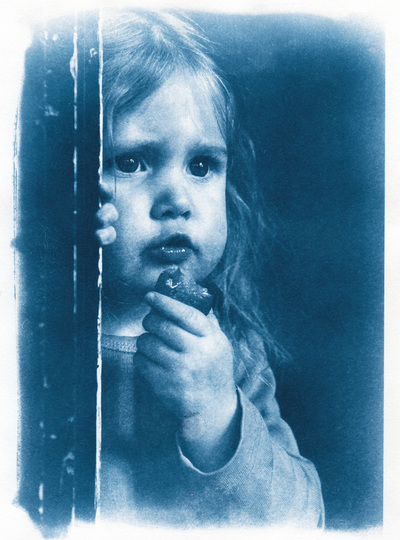
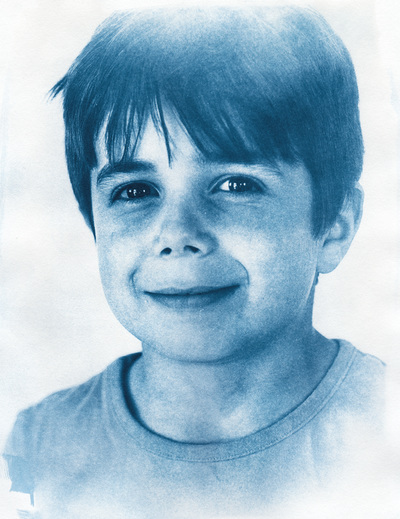
For this experiment I have selected 3 photos. The first one is a picture of the Astrup Fearnley Museum (Tjuvholmen, Oslo) which was shot on Ilford FP4+ 35mm film, I think it can look nice printed with cyanotype. The second and third are two portraits shot digitally. I chose one with a bright background and one with a dark background to see how it will look. Here are the pictures:
All these pictures were made into negatives using Darktable (on Linux). For these first experiments with digital negatives, I kept it simple: I boosted the contrast and sharpening and inverted the image. I also mirrored the image in order to do the contact print with the ink side of the transparent directly on the paper. The size of my digital negatives is A5 because that is the largest I can currently expose with my UV LED panel. In terms of printer settings, I used "Canon Photo Paper Plus Glossy II", printed in Grayscale set Luminosity to "Dark" and Intensity to +25. All this in an attempt to make the negative dense enough. I do not think that these are the optimal settings but that is my starting point before adding any colors or other tricks to try to improve the contrast of the prints. Here are the results:
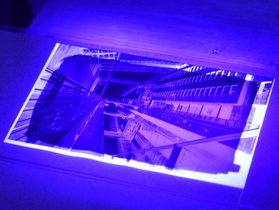
For each of these prints, I used my small UV LED panel. I have remove all diffusion on the LEDs and put the panel at a distance of about 30cm. The exposure time for those prints were between 10 and 15 minutes. The results are not too bad, but clearly shows that A5 is really the maximum size for the LED panel. The sides of the prints are underexposed. I like how the first picture of Tjuvholmen came out. The portraits are an OK starting point but it was not easy to get a good exposure, maybe a slightly lighter negative would give better tones on the faces.
